
Simply made with cardboard, wood glue, hot glue gun, wallmart matress pad, batting and 2 yards of fabric. The cost is under $50.
I bought queen boxspring and matress but did not want to spend money on the headboard. I had left large cardboard sheets from my Ikea furniture packages and the idea to use the cardboard came to my mind.
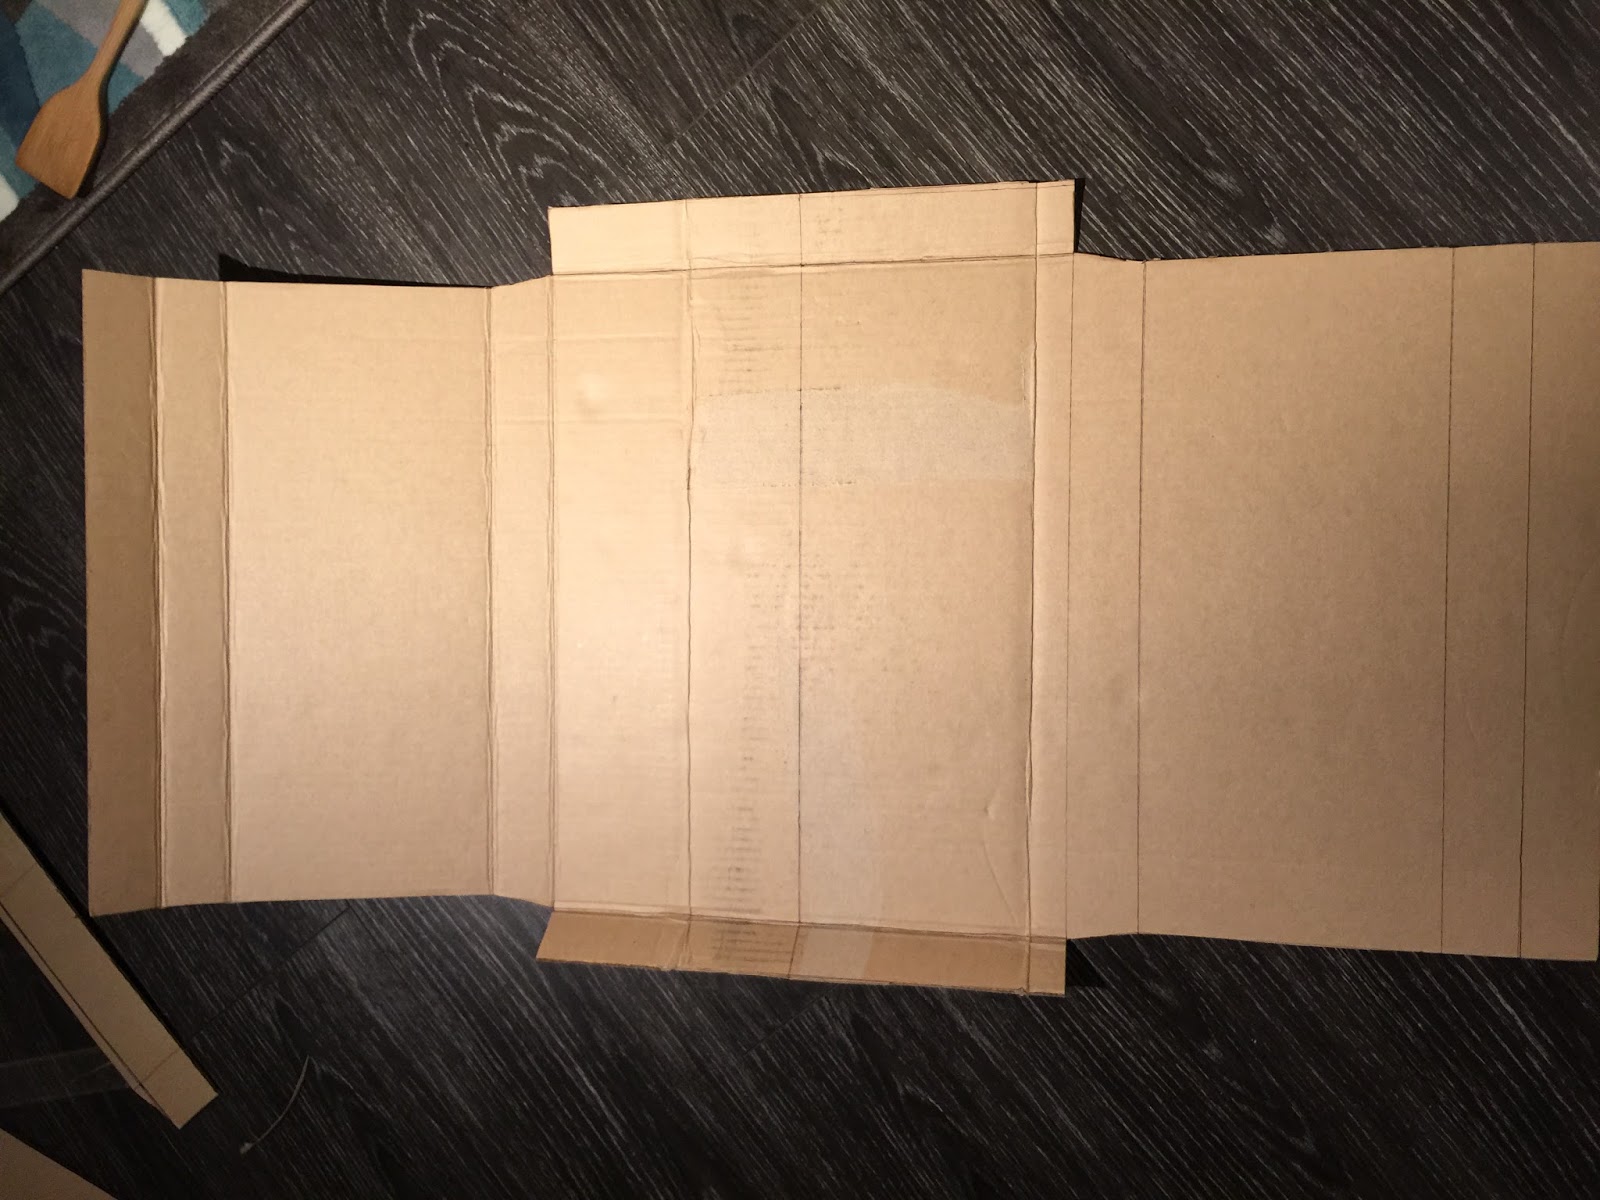
My queen size headboard is 64" wide and 47" at the highest point. At the image you can see the dimensions.
1. Draw the image on the first layer of cardboard and cut it out. I used extra sharp kitchen knife to cut. You can also use craft knife and ruler.
2. Outline your second layer of cardboard using the first one as stencil. Cut out. Do the same with the third piece of cardboard.
3. Glue all layers together with wooden glue. To make corners firm I outlined small extra pieces of cardboard for the outer corners and gued them between layers. I turned my dining table upside down and put it upon the headboard on the floor. That helped to press the layers together firmly. Let the glue dry overnight.
4. Put headboard on the matress pad, irregular
surface should face the cardboard, outline and cut it out. Glue the foam to the cardboard in some points with hot glue gun. Make shure you fixed the foam in the middle with the hot glue. You can add a little extra foam in the corners, it will make them puffy.
5. Put headboard on the batting foam down. You should have enough batting to pull around the edges of your headboard and glue it to the back. My roll of batting was enough for two layers. Pull
batting tight and glue it to the cardboard in the back. Be sure to start out with gluing one point in the middle of each side and then work your way around the edges. Use kittchen mitt because the glue is very hot.
6. Do the same with you fabric. Be sure to center the pattern on the fabric correctly before glue it down. Corners here are a little tricky so better see first some YouTube videos to figure it out.
7. I hung the headboard using hardware velcro, but you can use everything you like. In hardware stores you can find a lot of hanging for pictures etc.
Best of luck!


