First you need to plan desired measurements and draw them on a big sheet of cardboard. I had the following pattern with h 60; w50; d40.
If you do not have such a big piece of cardboard you can split the pattern on 3 parts as I did. In this case do not forget to leave extra (3 cm) of cardboard in the middle for them to glue together. Cut out your pattern.
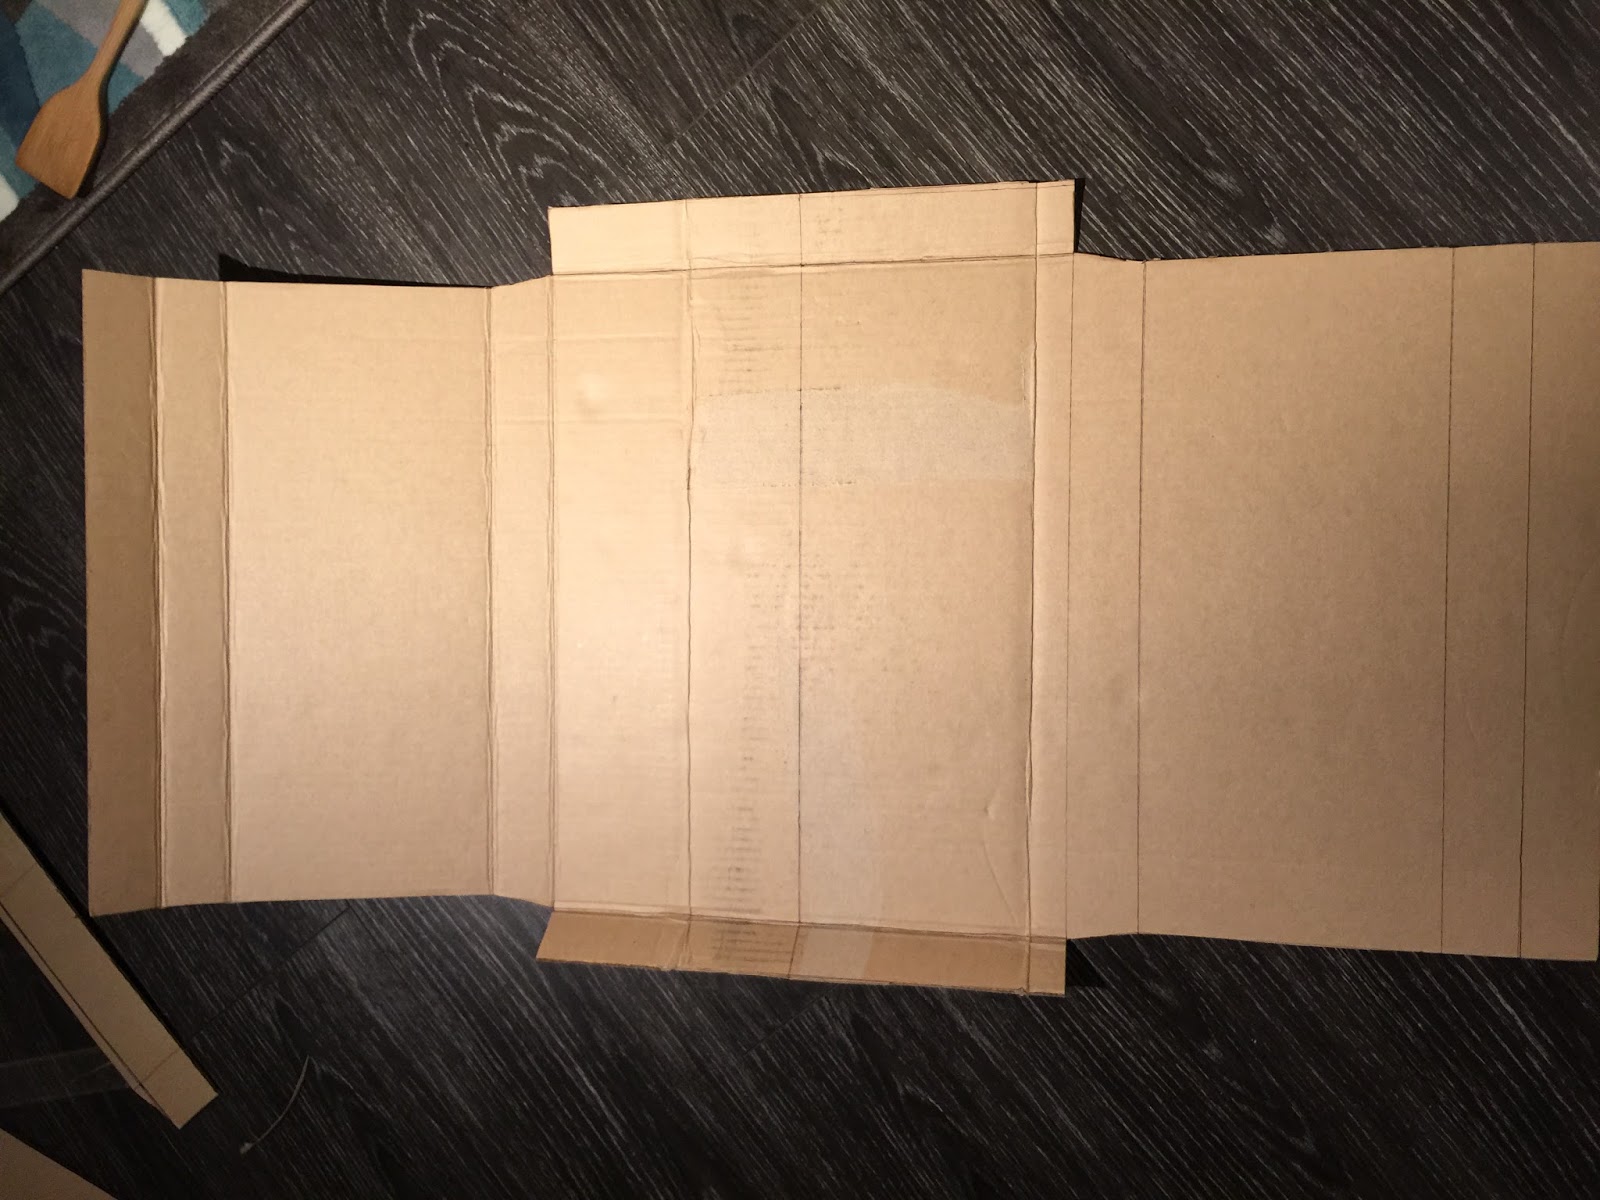
This is how the one side part looks:
When you have everything cut out you need bend the cardboard by pushing in the bending lines with something edgy but not sharp. I used wooden spatula.
Then bend:
When you have everything bent you need to glue the pattern together and wait until it is dry. I used white wooden glue.
Cut out and glue the back. It should be the size of you height and width. Now you have the main part ready.
It is time to make 2 shelves. Draw pattern, cut it out, bend lines and glue inside the box.
It looked nice without drawers but you can make one drawer. Sorry I do not have a pattern for it.
First I wanted to leave it in pure cardboard...:
but then I changed my mind and covered it with white paper
then painted in yellow:
The drawer I decorated with the glass knob and yellowish fabric which was left from my previous project.
Good luck!


